
24PCS Extra Long Press-On Nails | Matte Clear White Coffin Nails with Delicate Butterfly Design – Elegant DIY Glue-On Set
24PCS Extra Long Press-On Nails | Matte Clear White Coffin Nails with Delicate Butterfly Design – Elegant DIY Glue-On Set
Couldn't load pickup availability
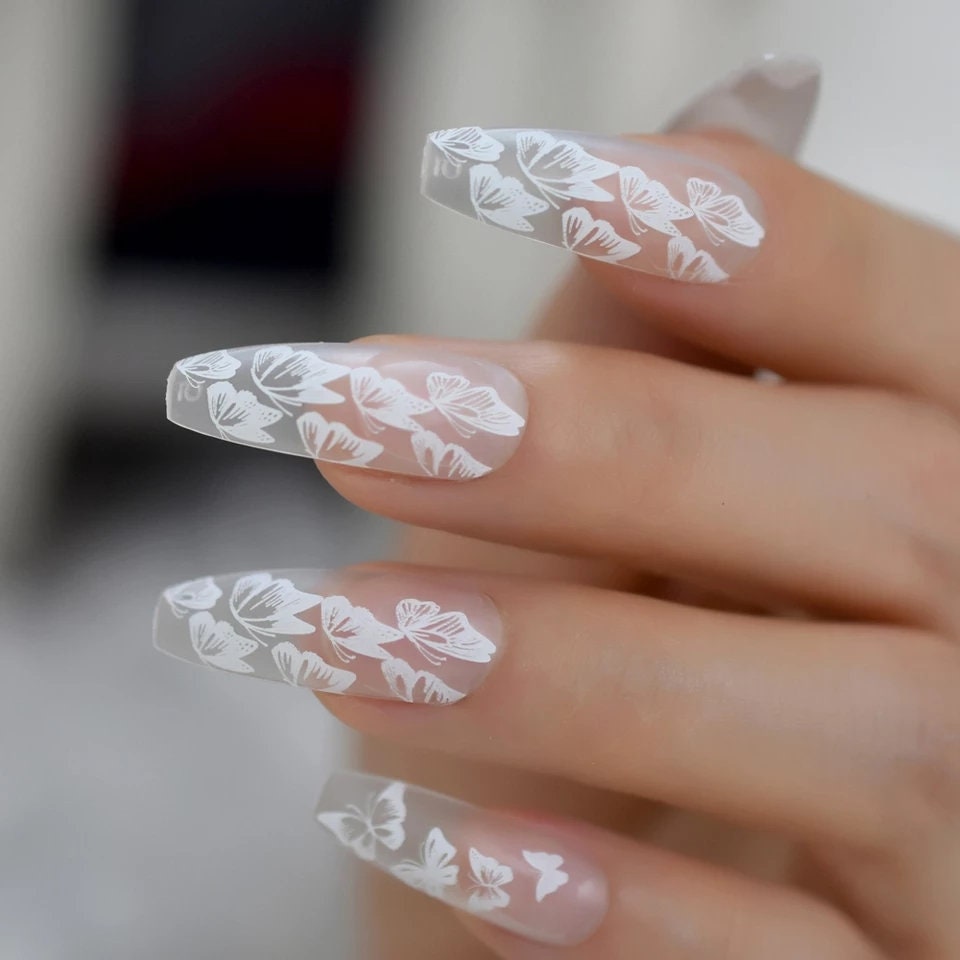
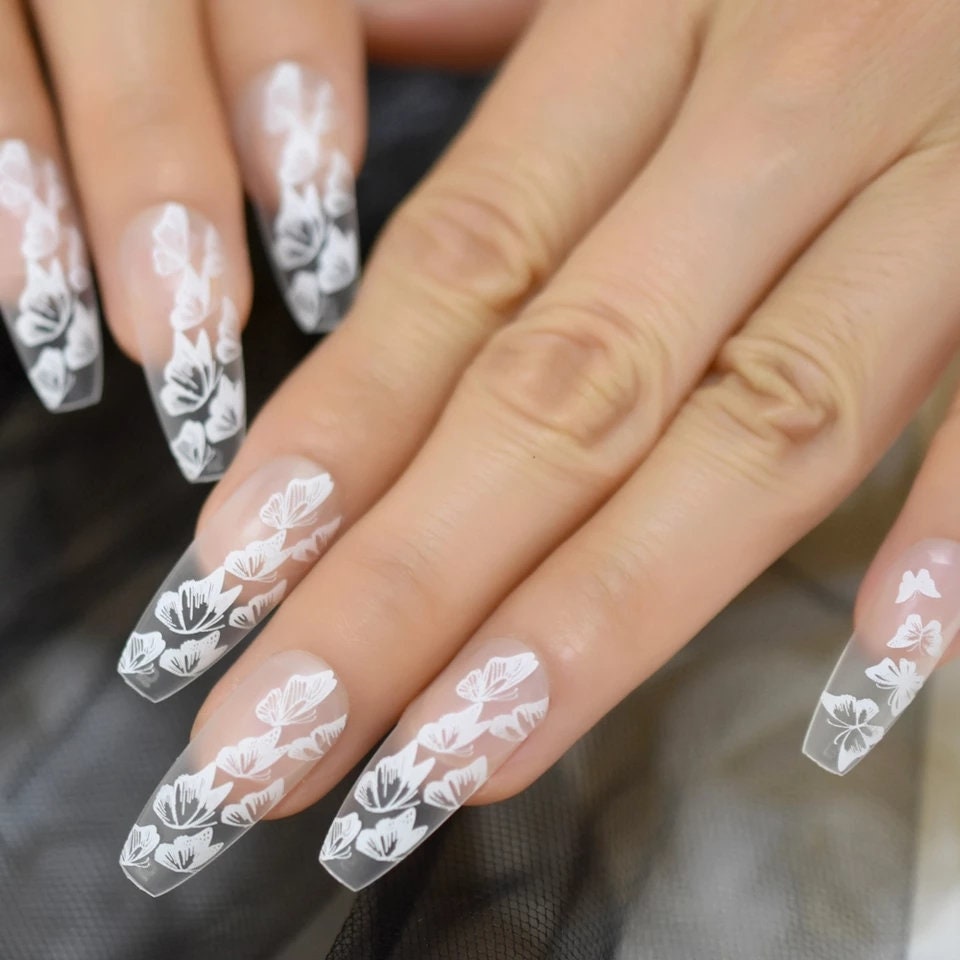
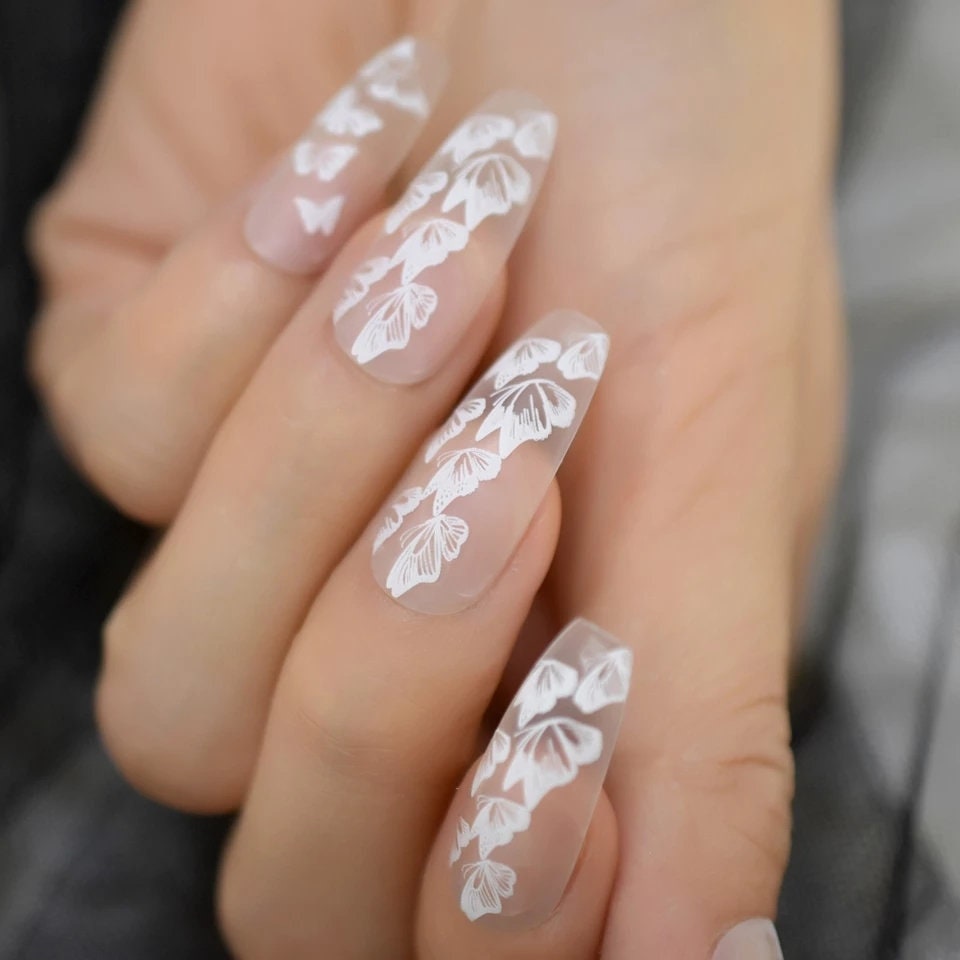
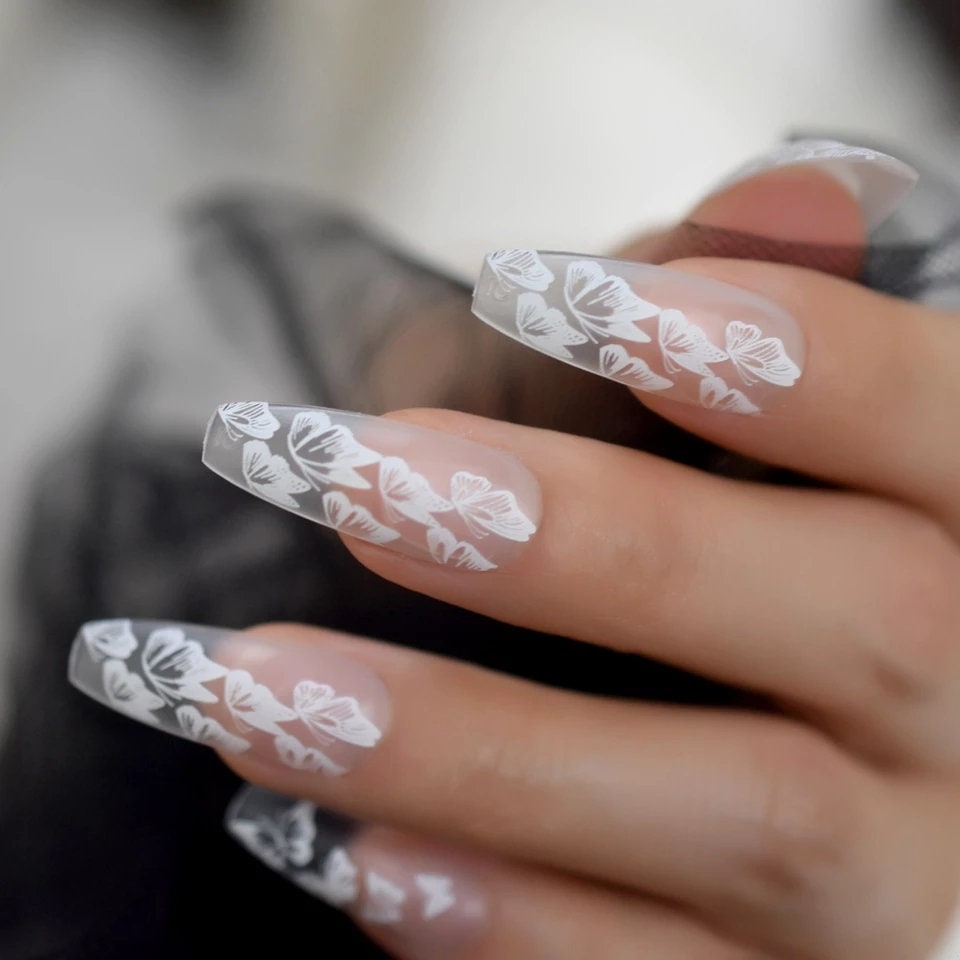
24PCS Extra Long Press-On Nails – Matte Clear White Coffin Nails with Elegant Butterfly Design.
Our Extra Long Press-On Nails are a stylish, affordable, and easy way for anyone who loves nails to achieve salon-quality nails at home. You can achieve the perfect look with these nails without the hassle or cost of acrylics, regardless of how long you've been doing your own nails or how new you are to the process.
Why should you get long press-on nails?
People love our long press-on nails because they look good, are cheap, and are easy to use. You can create a variety of nail designs with just one set, which costs between $9 and $30.You don't have to go to a nail salon to get them. They are easy to put on and take off with warm, soapy water or a little acetone, and they don't hurt your natural nails as much as acrylics do. You can easily change your style for any event, from matte to shimmer, ombre, or chrome.
The Kit Has:
24 nails that fit perfectly in sizes 0 to 9
Use nail glue and sticky pads to hold the application in place.
To shape and smooth your nails, use a file and buffer.
Follow these steps to put on your press-on nails:
Find the right person for you: Put your nails out and pick the size that fits each finger for a snug, natural fit.
Get the nails ready: You can change the length and shape as needed with the file or buffer that comes with the set.
Prepare Your Natural Nails: Wash and dry your hands thoroughly, gently push back your cuticles, and remove any old polish to ensure the new polish adheres better.
Apply glue to both the fake nail and the real nail, and then press them together. Press down on each nail for 30 to 60 seconds, starting with the pinky.
To take off, soak your nails in warm, soapy water for 10 minutes or until the glue comes off. A little bit of acetone can help you remove it faster.
With this kit, you can easily make beautiful manicures at home, try out new styles, and impress everyone with every look. Great for you or as a nice gift for someone who loves nails!
Share