Long Matte Red Press On Nails | Coffin Shape Glue-On Nail Set by Surethings
Long Matte Red Press On Nails | Coffin Shape Glue-On Nail Set by Surethings
Couldn't load pickup availability
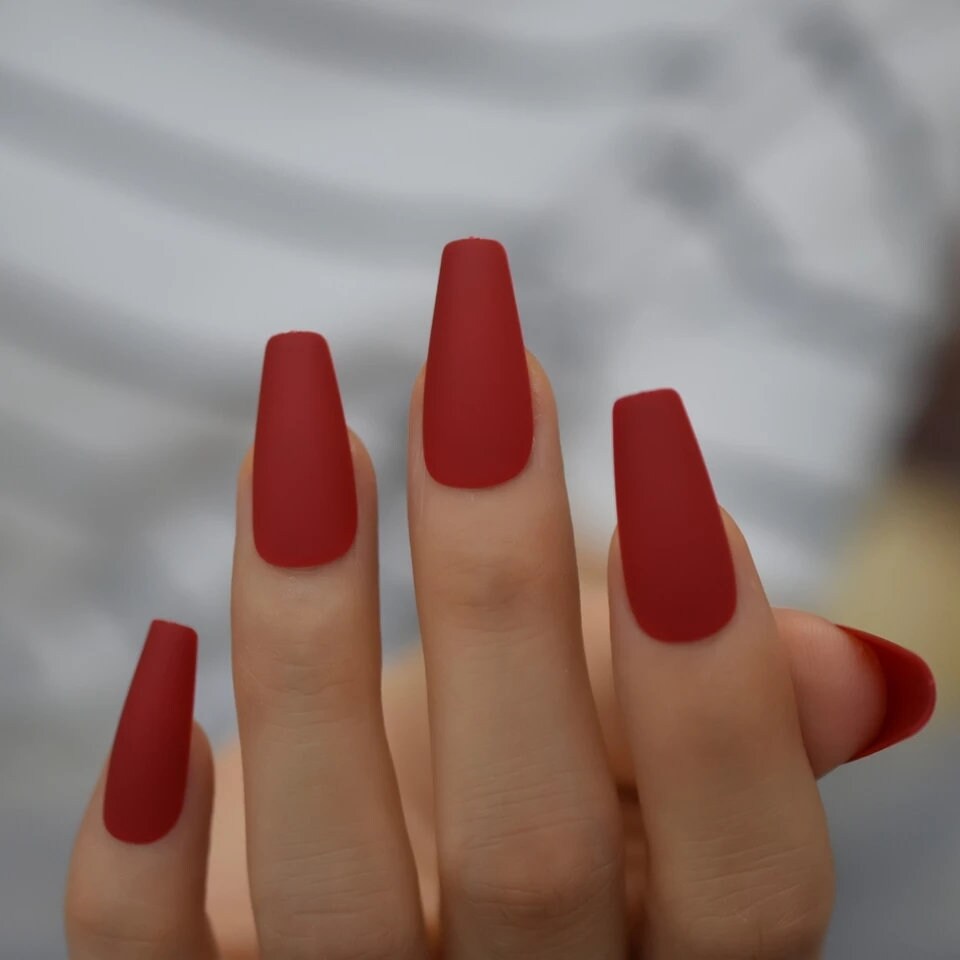
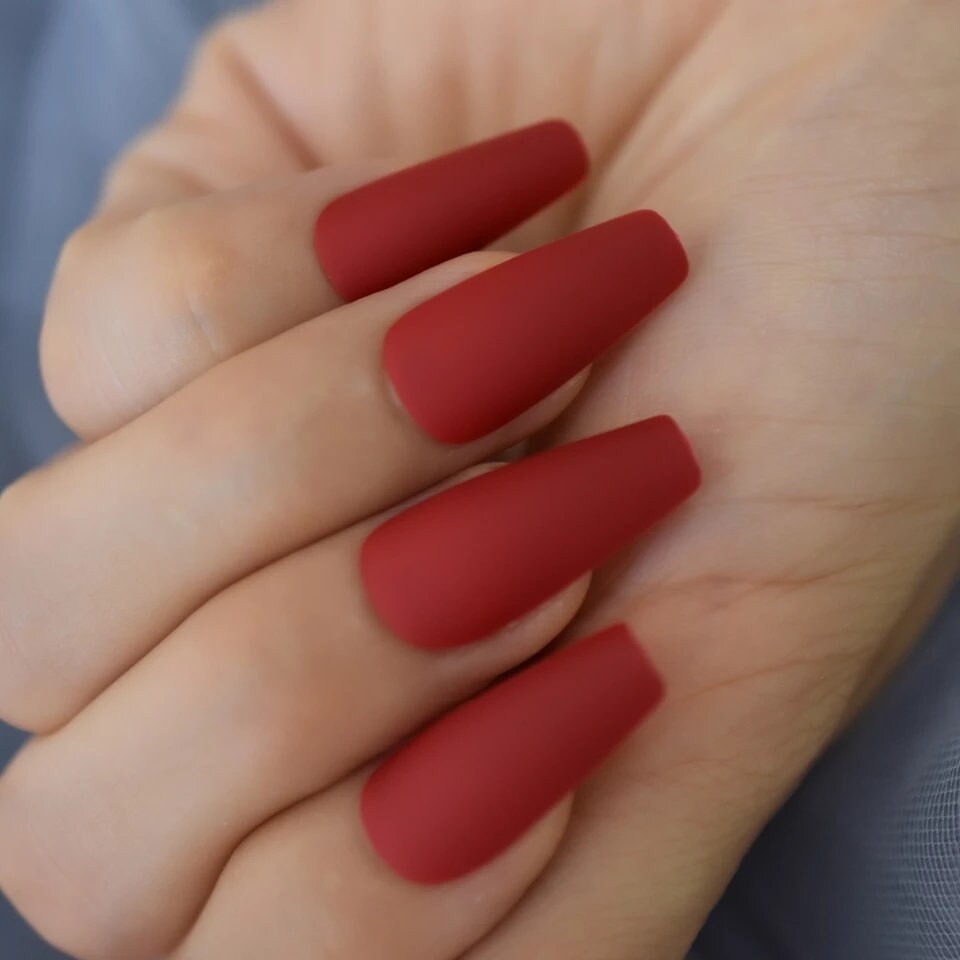
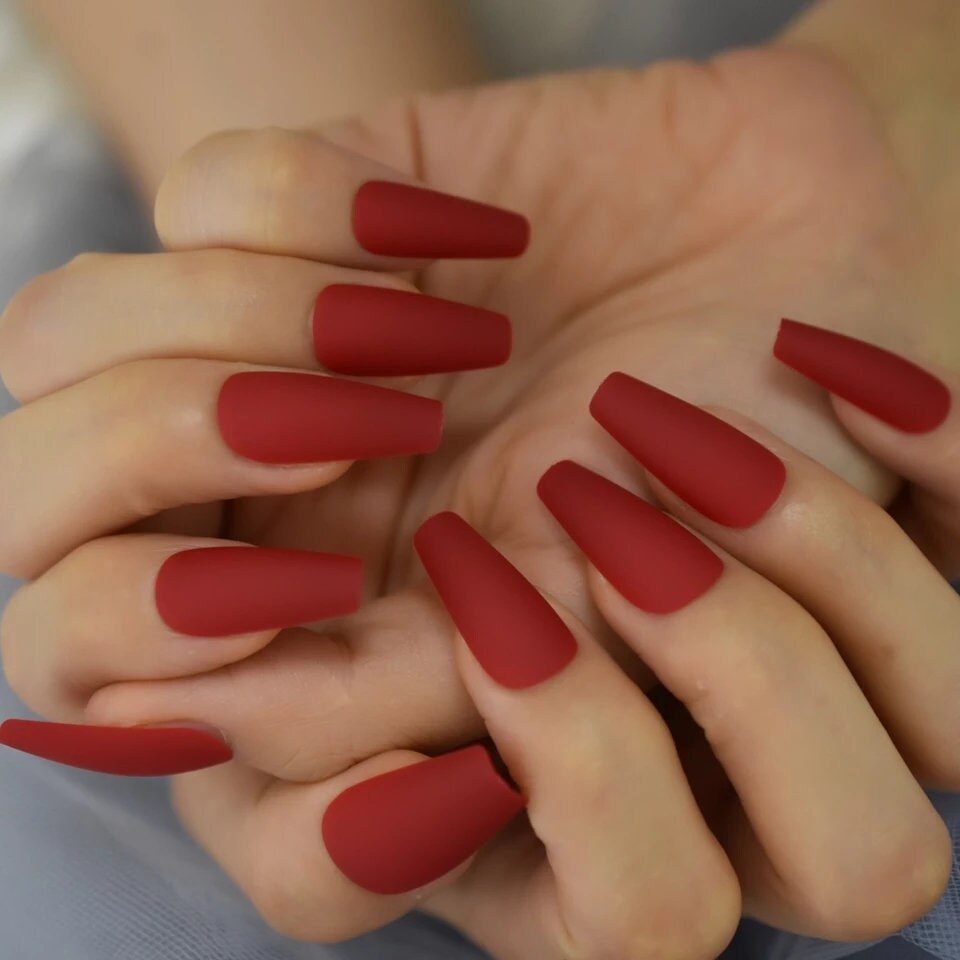
24 PCS Long Matte Red Press On Nails - Coffin Shape Glue-On Nail Set by Surethings.
Ready to finally ditch the salon and get that dramatic, fierce manicure instantly? Our 24 PCS Long Matte Red Press On Nails are your ultimate statement accessory—seriously!
These nails are pure attitude: a rich Matte Red finish combined with that incredibly chic Coffin Shape. It's a look that commands attention, no question! Forget wasting time and cash—with this super easy Glue-On Nail Set from Surethings, you can instantly flaunt high-fashion nails that everyone will think cost you a fortune.
✨ The Press-On Advantage: Maximum Style, Minimum Effort
Why are our long press on nails becoming the top choice for everyone who's obsessed with bold manicures?
Affordable Glamour: You can achieve that coveted long nail look instantly. Our affordable press on nails are super trendy and allow you to refresh your style every single week without breaking the bank. Forget expensive acrylic refills!
Zero Damage: The best part? Unlike those damaging acrylics, these easy-to-remove glue on nails are genuinely less damaging to your natural nail beds, helping them stay strong and healthy underneath that bold finish.
Quick & Fashionable: You'll master the application in just a few minutes! Since they're low cost and we offer great variety, it’s easy to flaunt a professional finish quickly.
💖 Everything You Need Is Right Here!
We promise this is truly the most complete DIY Nail Kit you’ll find. We’ve packed everything so you can get started right out of the box!
FREE 3-5 day shipping on orders $10+
Your Surethings kit includes:
24 Long Coffin Press On Nails: With sizes 0-9 to guarantee a perfect fit for every finger—no guessing required!
Nail Glue & Sticky Pads: You get options for either temporary or long-term wear.
Mini File/Buffer: That's the essential tool you need for perfect shaping and prep.
🛠️ Quick Application Steps (Seriously, It's Easy!)
It honestly only takes a few minutes to completely transform your look! Start by prepping your natural nails: just clean them and give the surface a good buff. After that, apply glue to both the artificial nail and your finger. Now, press firmly for 30-60 seconds, starting with your pinkie finger!
Share


